MrEd Designer Callback Tutorial
Similar tools
If you know any tool like this for editing
a graphical user interface then please let me know.
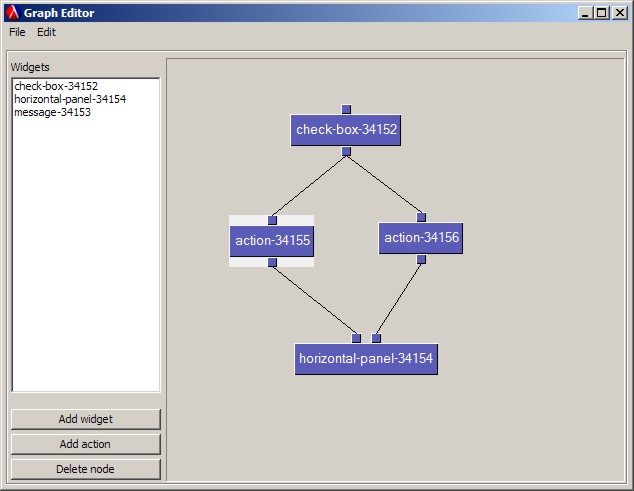
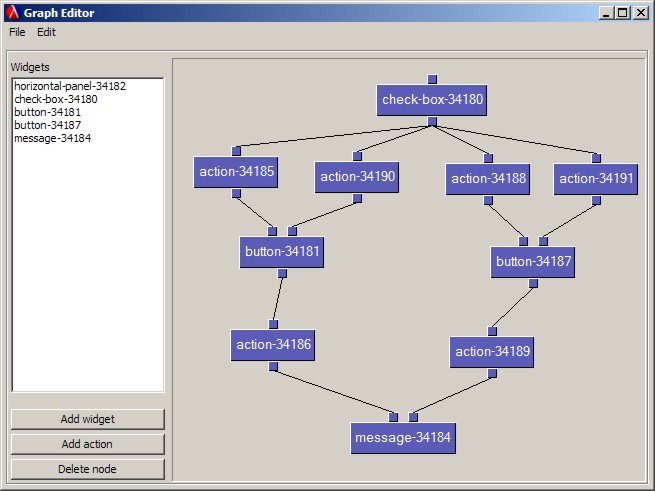
MrEd Designer uses a
graph editor to
construct callback functions for the graphical user interface.
This tool can create callback functions for such cases where
the state of one graphical element affects the state of another
graphical element. For example if a button is pressed change
the label of another button, or when a check box is unchecked then
hide a part of the window.
Activate the tool by selecting the Callback Graph frame
menu item in the Windows menu.
This document tries to show some
examples.
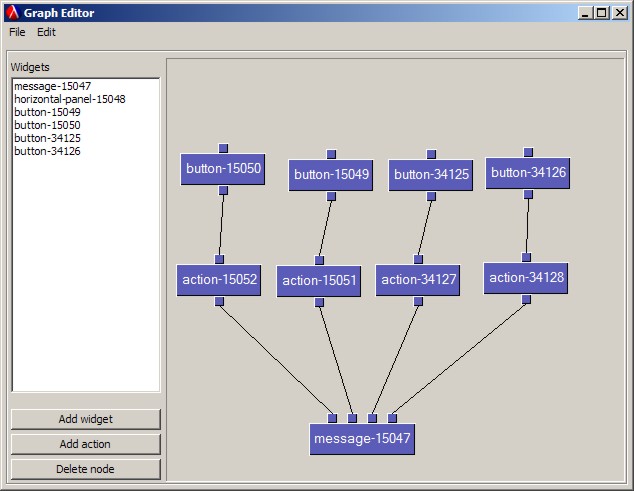
Description of the user interface of the Callback graph editor

- In the File menu the user can delete the whole graph thus a new
graph can be constructed. It is also possible to close this window
by selecting the "Close window" menu option.
-
In the Edit menu the user can increase or decrease the number of
input tabs of the selected node. An input tab can have only one connecting
line, while an output tab can have unlimited number of connected lines.
-
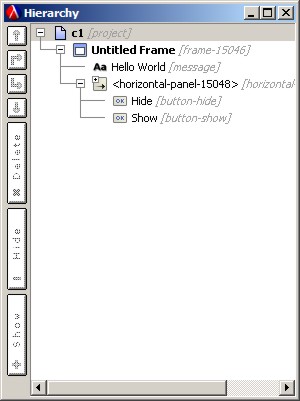
In the list box all the available graphical user elements are listed.
When the user double clicks on one item then a new node is added
to the graph. One item can be added only once! The new node will
appear at the left top corner of the graph window.
-
The graph window is on the right hand side of the window. The editing
of the graph can be done in this part of the window. It is possible to
drag nodes, connect or disconnect nodes.
-
Under the list box three buttons can be found. The Add widget
button adds the selected graphical element from the list box
to the graph, if it is not already added.
The Add action button also adds a node to the graph but
an action node. The callback actions can be specified for action nodes.
By pressing the Delete node button the user can delete a node
from the graph if there are no connecting lines!
Some comments:
- A graphical element can be connected only to an action node.
- An action node can be connected only to a graphical element node.
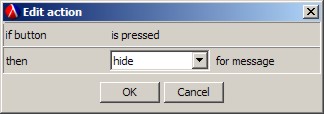
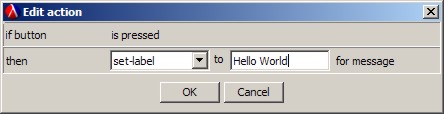
- The callback action can be edited only if the input and the output
tabs of the action node are connected.
- If an action is specified for an action node but one of its lines
is disconnected by the user then the action is deleted.
- You cannot move a node out of the window on the left and top
side of the window. The node will "jump" back to the most left or top
side of the window. However if you move a node far to the right or bottom
then scrollbars are created.
- Although MrEd does not call the callback function of a graphical
element when some changes occur in the graphical element, but
this tool generates a Scheme code where any change in the graphical
element is passed down to the next graphical element if they are
connected in the graph. See the example section.
- Only the following graphical elements can affect
other graphical elements:
- button
- check-box
- radio-box
- choice
- list-box
- text-field
- slider
- The following list contains the possible actions:
- enable
- disable
- show
- hide
- check
- uncheck
- toggle
- set-label
- set-text
- set-value
- set-selection
- set-list
Examples
All examples can be downloaded from here.
-
c1: Press the Hide button to hide and the Show
button to show the message.
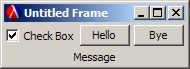
-
c2: Press the Hide button to hide and the Show
button to show the message. Press the Hello button to
change the message to "Hello World" and press the Bye button
to change the message to "Bye World".
-
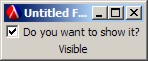
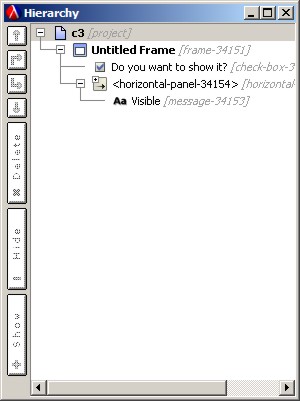
c3: Check the check-box to make the message visible, otherwise
hide the message. Actually we are showing or hiding the horizontal panel.
-
c4: Check the check-box to enable the buttons, otherwise they are disabled.
Press the Hello button to changes the message to "Hello"
and press the Bye button to change the message to "Bye".
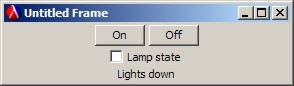
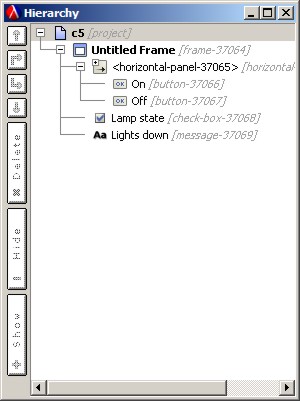
-
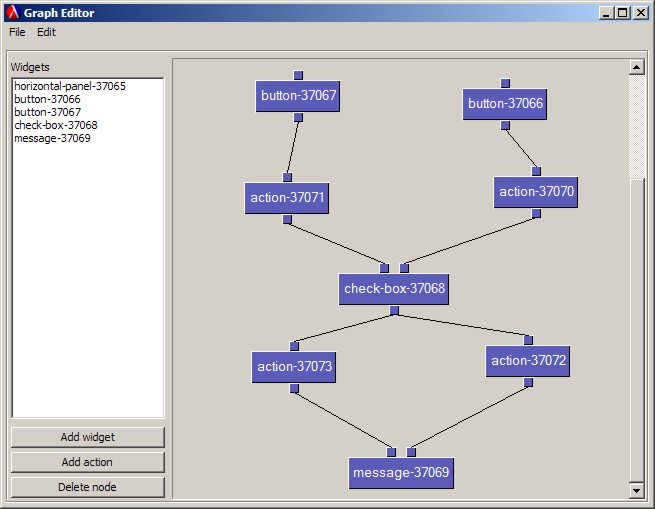
c5: Press the On button to check the check box
and press the Off button to uncheck the check box.
Furthermore when the check box is checked then the message is changed
to "Lights up" and when it is unchecked then the message is changed
to "Lights down".
When the user tries this code then it should be noticed that by pressing
one of the buttons the program will change not only the check box but
the message. This means that the callback action is passed "down" in the
graph.
-
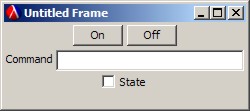
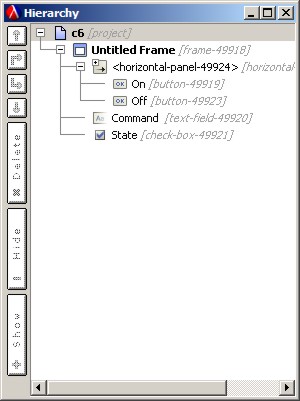
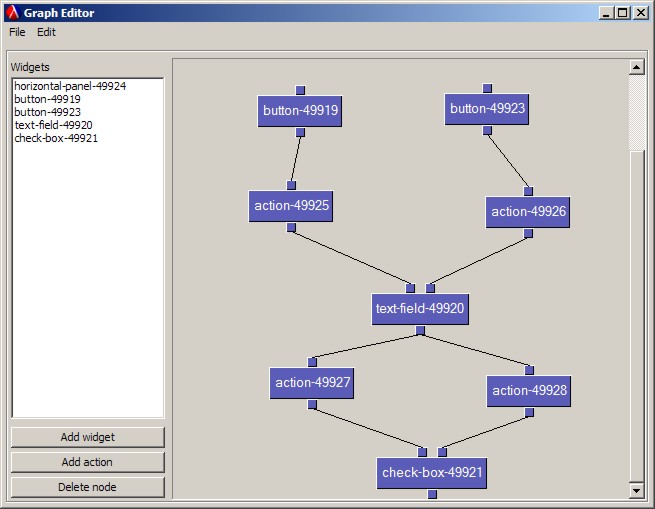
c6: This example is similar to the 'c5' example. The only difference
is that now we are using not a check box but a text field. If the
typed in text is "on" then the message is changed
to "Lights up" and when the text is "off" in the text field
then the message is changed to "Lights down".
-
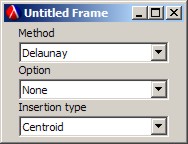
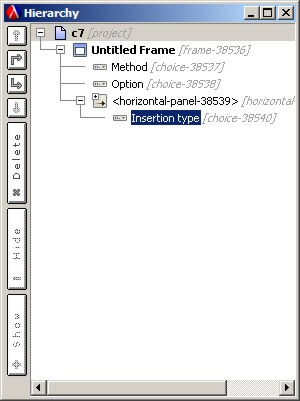
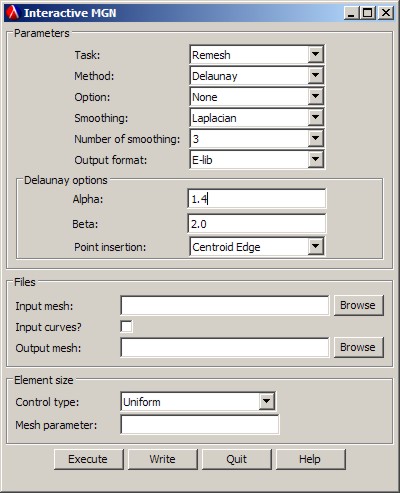
c7: In this example when the "Method" changes then the "Option" list
changes and the "Insertion type" may be visible or hidden.
This example may seem very complex,
but can be done relatively easily with this tool.
The example shows that the callback function can change the
full list of options in the user interface.
-
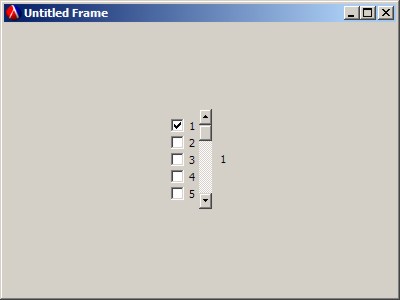
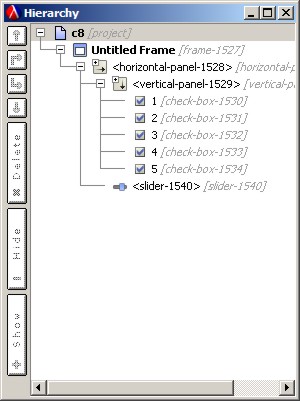
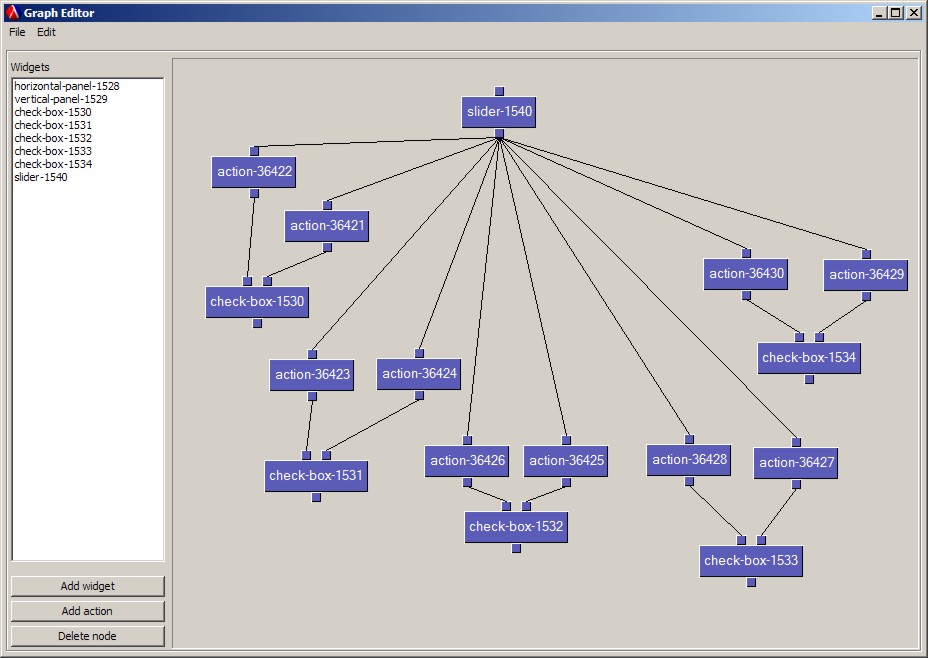
c8: This example shows that the check boxes will changed their states
according to the position of the slider.
-
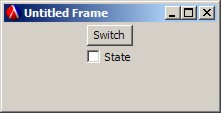
c9: In this example the state of the check box changes (toggled) when
the button is pressed
-
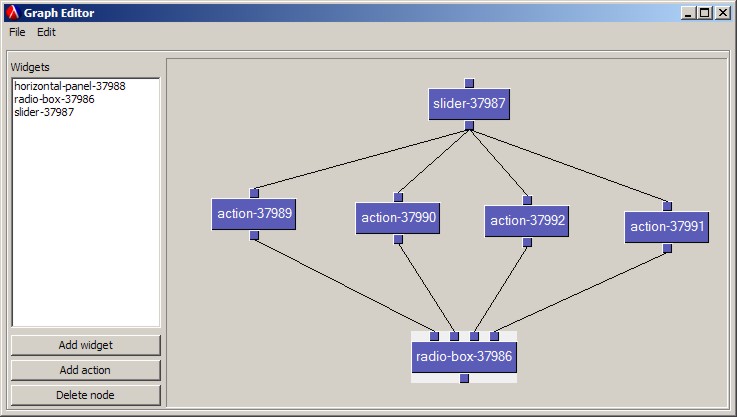
c10: This is the same example as 'c8' but with radio boxes.
Back to MrEd Designer
Back to PLT programs